Manufacturer-specific battery integrations allow the ReliaHome Smart Panel to manage devices according to the battery's state of charge. As the battery discharges below a preset charge percentage the ReliaHome Smart Panel will shed Flexible Devices to increase battery runtime. As the battery recharges above the preset state-of-charge threshold the ReliaHome Smart Panel will re-enable Flexible Devices.
*Note that 50% state of charge is the default threshold at which Flexible Devices shed. You can edit each Flexible Device to shed at your desired percentages on the ReliaHome Smart Panel app's Off-Grid Manager screen. For more information on battery state of charge settings, see:
Battery State of Charge Integration Instructions:
Enphase
| 1. Tap on Controls at the bottom of the app screen, then tap the plus sign in the lower right. | 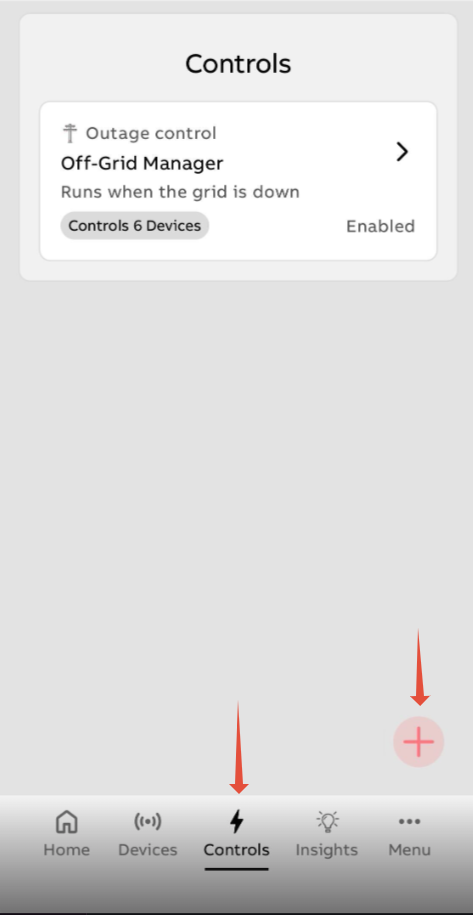 |
| 2. Select Manage Devices & Integrations | 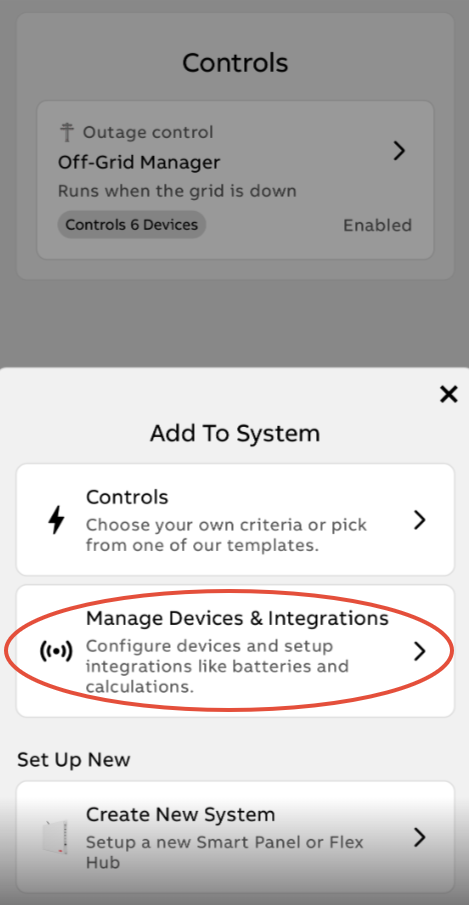 |
| 3. Select Battery Integration |  |
| 4. Select Enphase Cloud |  |
| 4. Tap "Okay" to temporarily be redirected to Enphase servers. | 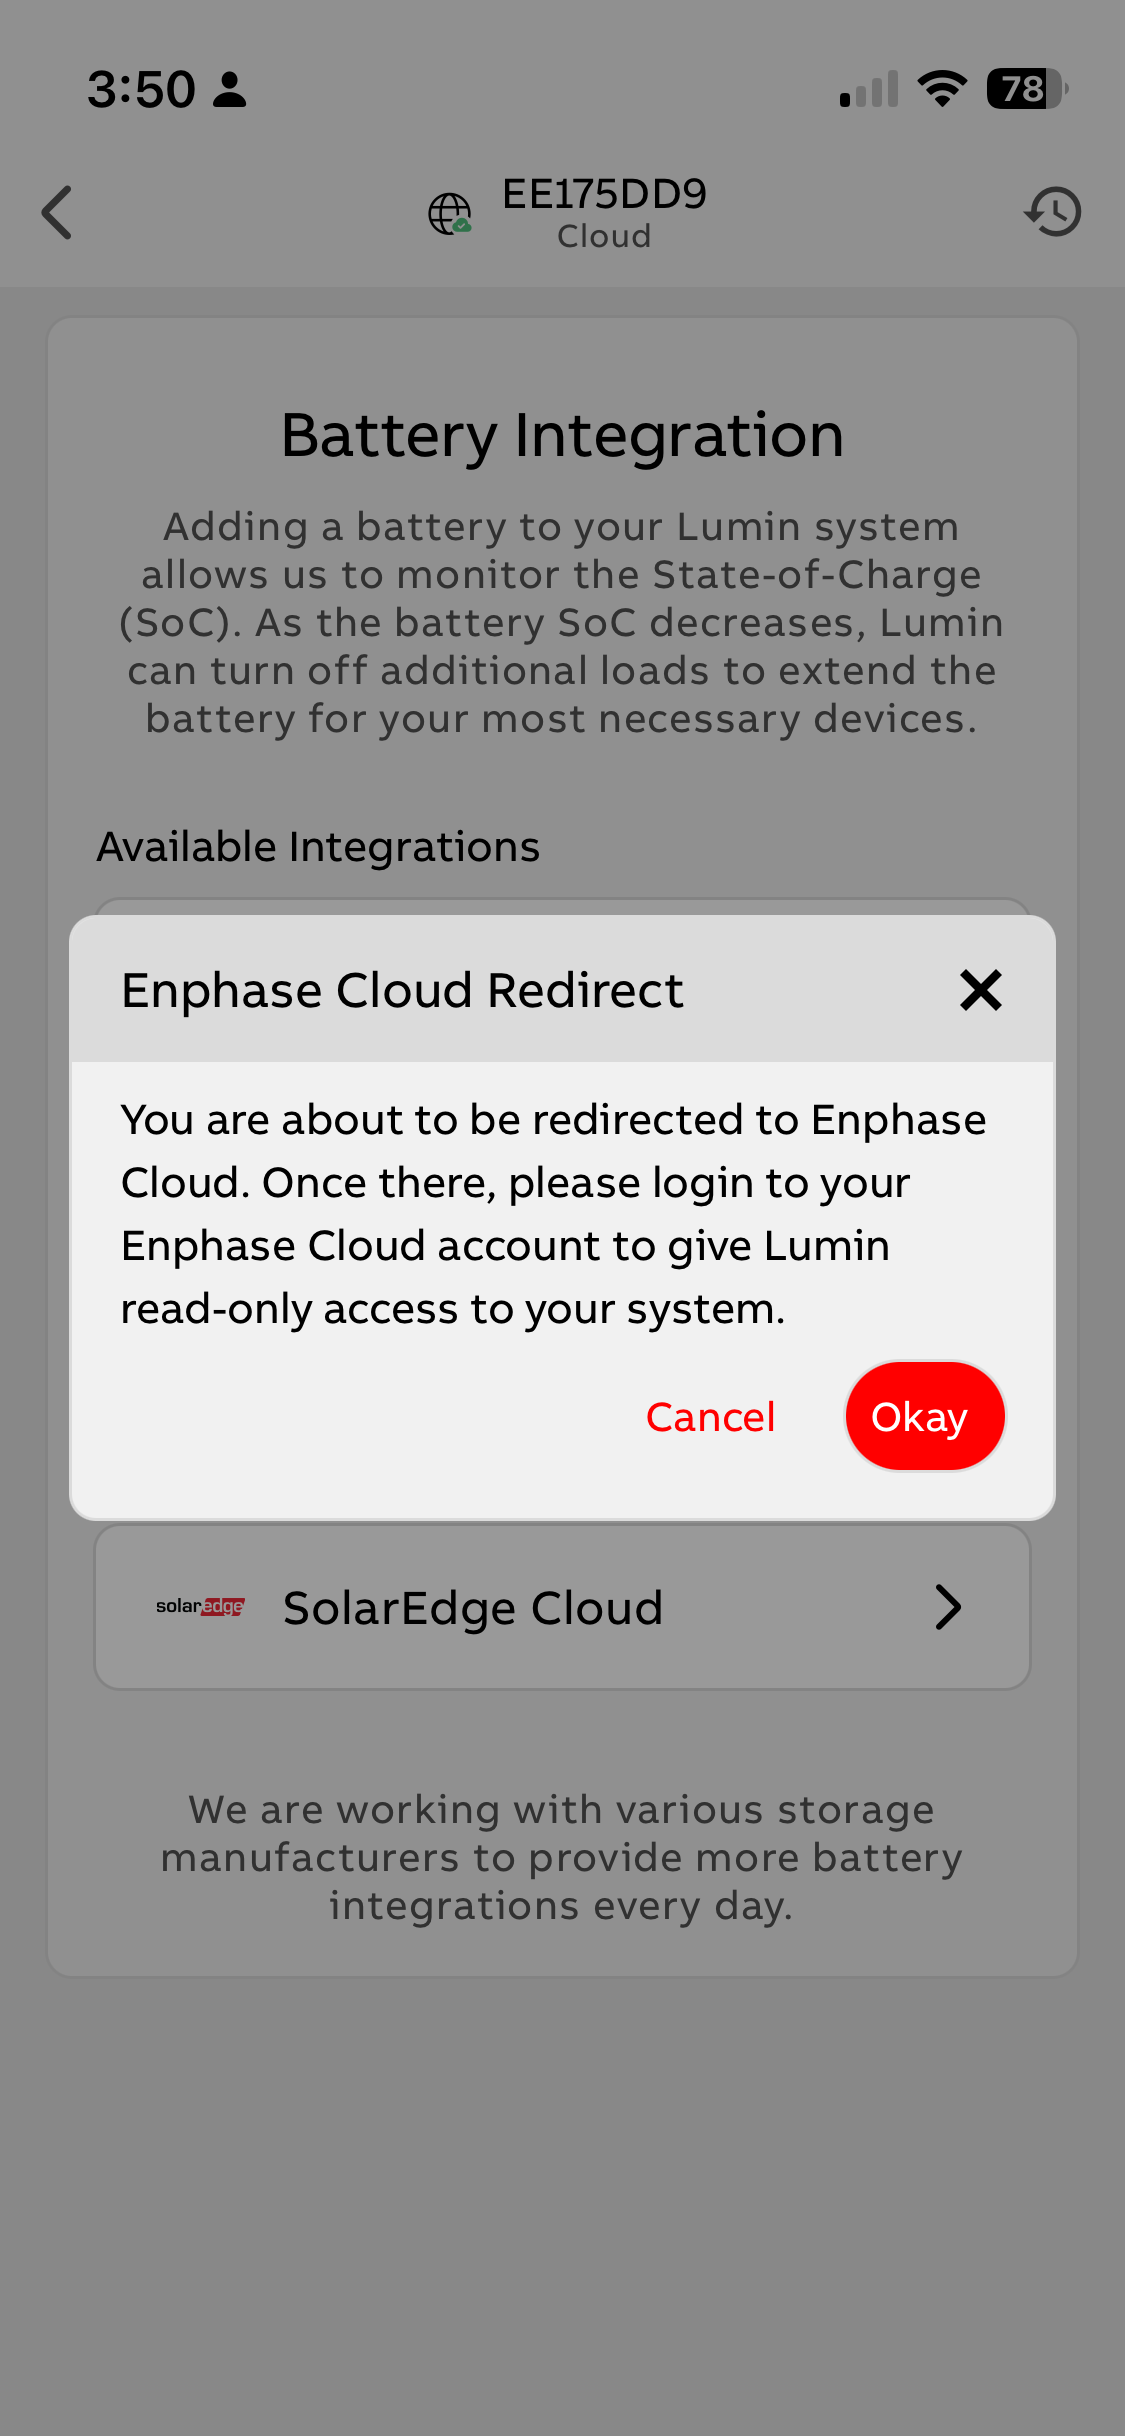 |
| 5. Login to Enphase Enlighten. |  |
EG4
ReliaHome requires EG4 API access in order to receive state-of-charge information from the EG4 platform. The only information necessary to create API access between the two platforms is the EG4 inverter serial number. There are three ways to obtain the inverter serial number:
| Method 1: Use the EG4 web platform: | 1. Login to the EG4 Monitor Center user account: |  |
| 2. If you are a user of multiple stations, select the corresponding station (EG4 installation) using the leftmost dropdown menu. |  | |
| 3. Make note of the inverter's serial number in the rightmost dropdown menu. If there are multiple inverters onsite, record the serial number of the "master" inverter and introduce this serial number into a separate EG4 integration for each smart panel installed. |  | |
| Method 2: Using the EG4 Monitor App on a Mobile Device | 1. Login to the user account on the mobile app. | |
| 2. If you are a user of multiple stations, select the corresponding station (EG4 installation) using the leftmost dropdown menu. |  | |
| 3. Locate the serial number on the right-hand side of the menu. |  | |
Method 3: Gathering information from the side of the inverter | The serial number can be taken directly from the inverter. Location of the S/N will differ depending on inverter model. | |
EG4® 6000XP Off-Grid Inverter See the left-hand side of the unit to locate the serial number.  | EG4® 12kPV Hybrid Inverter See the right-hand side of the inverter to locate the serial number.  | EG4® 18kPV Hybrid Inverter See the right-hand side of the unit to locate the serial number.  |
ReliaHome app procedure for EG4 Integration
Once the serial number has been obtained, follow these steps in the ReliaHome Smart mobile app:
In the ReliaHome Smart Panel app:
| 1. On the Controls tab, select Off-Grid Manager, then select the link to Add a battery to your system. | |
| 2. Select EG4 Cloud. |  |
| 3. Enter the EG4 Site ID (Serial Number), and press "Test Connection". |  |
| 4. Wait while the connection is tested. | 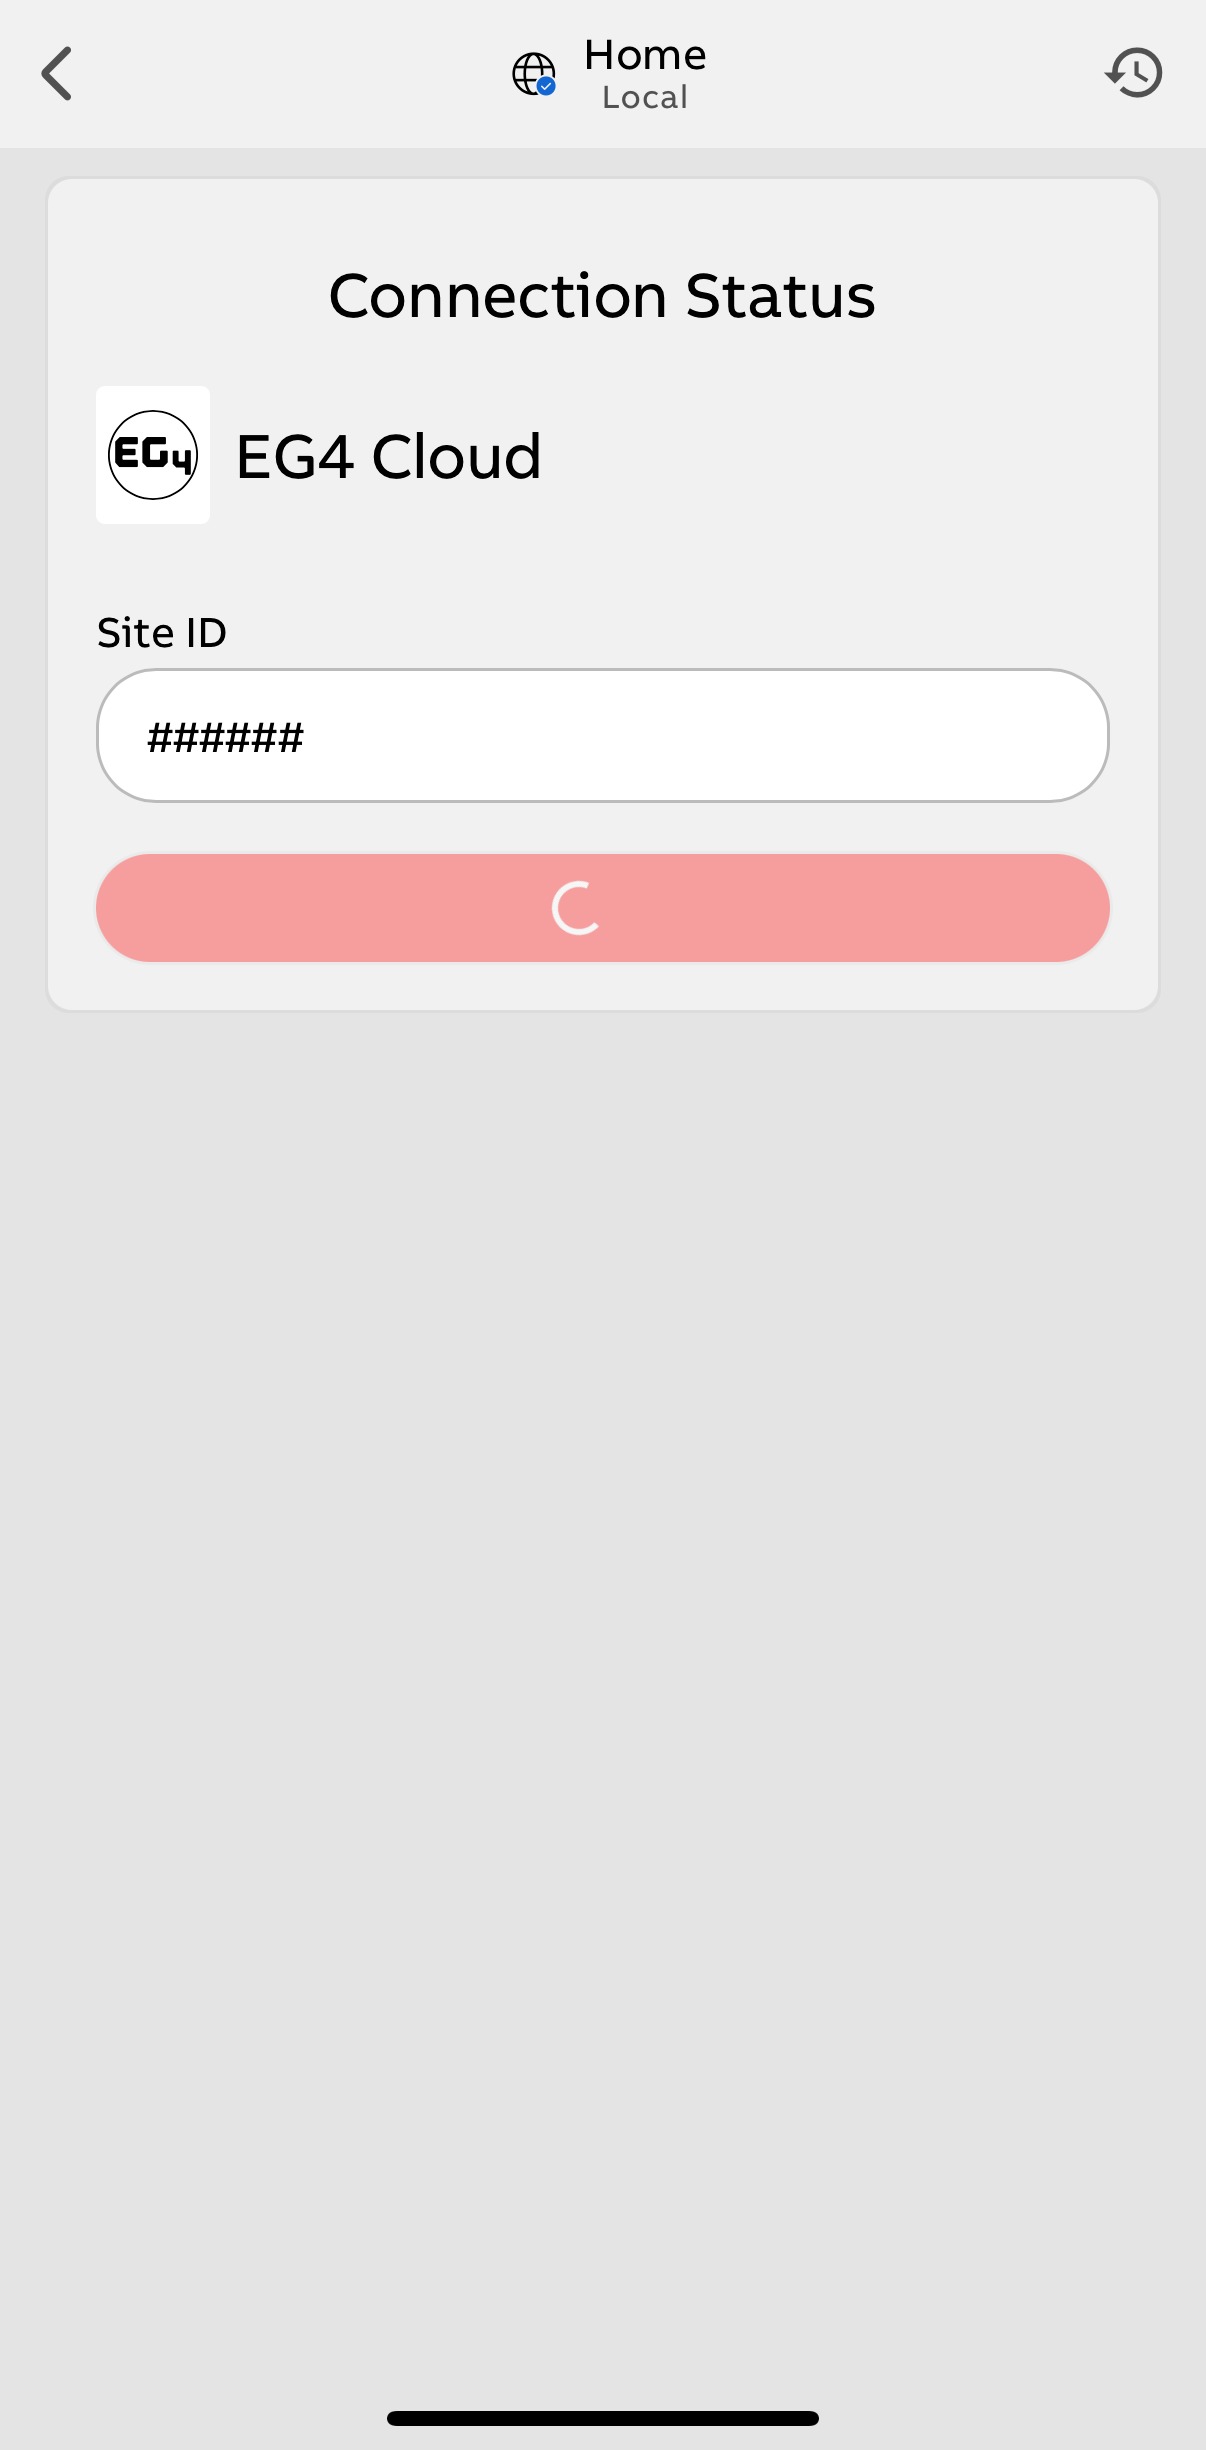 |
| 5. Select Prioritize Devices once connected. |  |
| The Off-Grid Manager screen will display the EG4 system's state of charge. If desired, you can categorize your circuits and set the percentage you want your Flexible Devices to shed at when grid power is unavailable. For more information, see: | 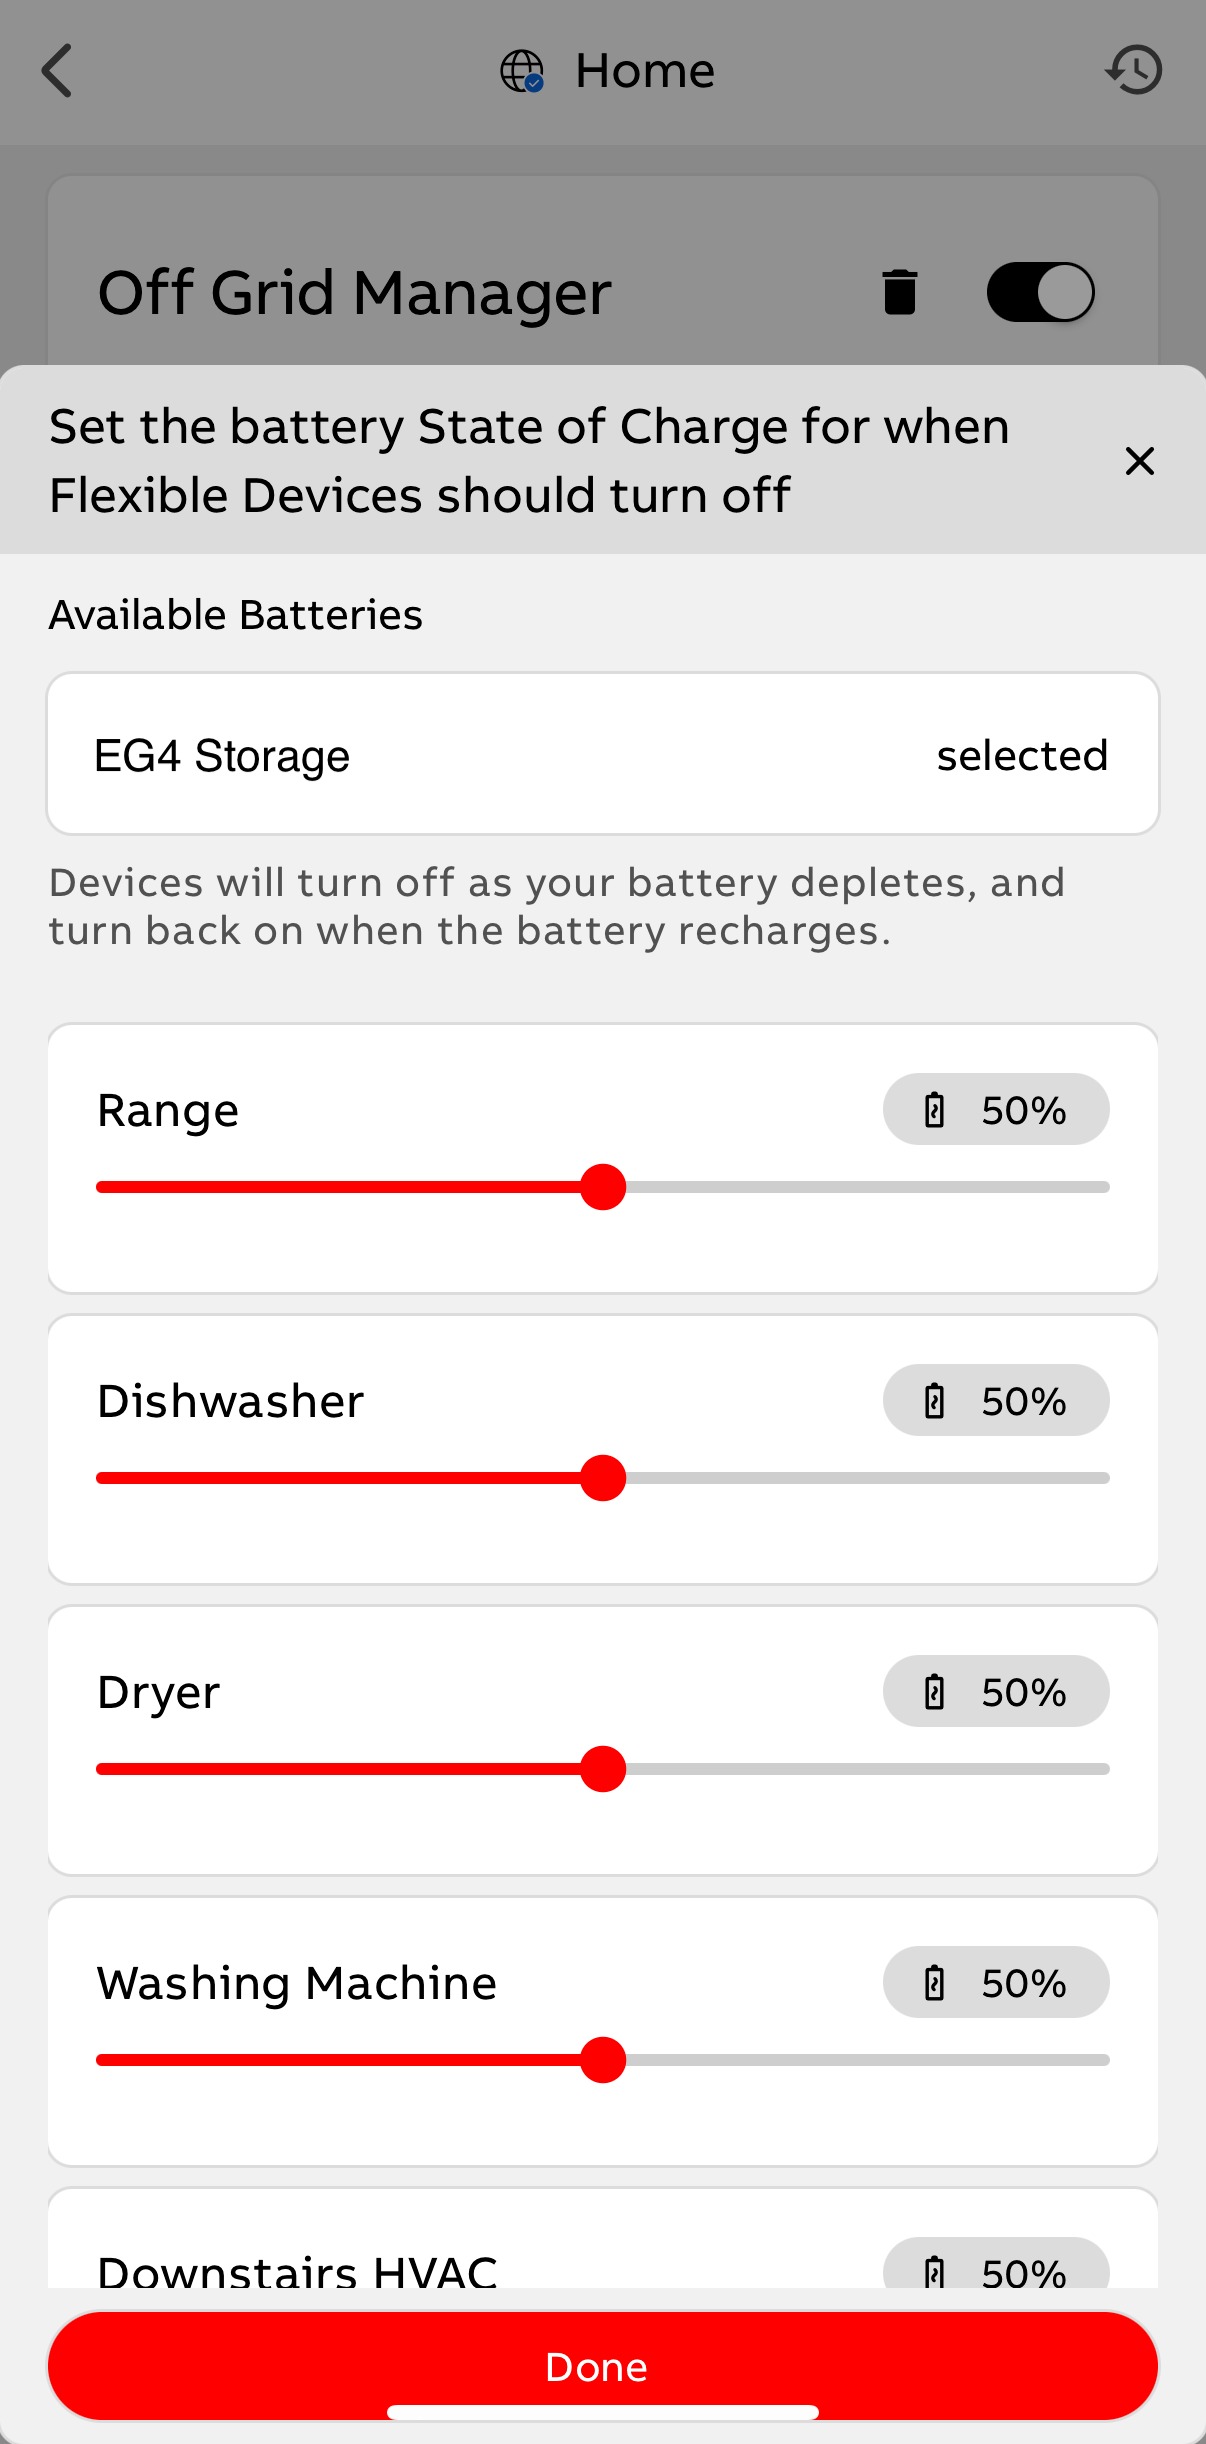 |
SolarEdge
Compatible Batteries
SolarEdge battery integration will work with the SolarEdge Home Battery and LG batteries paired with a SolarEdge inverter. Note that the ReliaHome API integration does not work with SolarEdge's StorEdge systems.
API Access with SolarEdge
ReliaHome requires SolarEdge API access to receive state-of-charge information from the SolarEdge platform. Within the SolarEdge mobile app or web platform, an installer should generate a site API key following the process outlined by SolarEdge.
Note: The following procedure is only available in Admin (installer) SolarEdge accounts. System owners (homeowners) should contact their installer for assistance with this process.
In the SolarEdge platform:
| 1. Go to the Site Admin > Site Access > Access Control > API Access section. |
 |
| 2. Acknowledge reading and agreeing to the SolarEdge API Terms & Conditions. |
| 3. Choose Generate API key. |
| 4. Copy the key. |
| 5. Select Save. |
 |
In the ReliaHome Smart Panel app:
| 1. Navigate to the Controls > Off-Grid Manager > Add a battery to your system. | |
| 1. Navigate to the Controls > Off-Grid Manager > Add a battery to your system. | |
| 2. Select SolarEdge (Cloud). |  |
| 3. Enter the SolarEdge Site ID / API Key, and press "Test Connection". |  |
| 4. Wait while the connection is tested. |  |
| 5. Select Prioritize Devices once connected. |  |
| The Off-Grid Manager screen will display the SolarEdge system's state of charge. If desired, you can categorize your circuits and set the percentage you want your Flexible Devices to shed at when grid power is unavailable. For more information, see: |  |
API Security: The API Key provides access to information about your solar production, battery state of charge, and home energy consumption. Do not share the key publicly. Only share it privately with those with whom you wish to share this information. ReliaHome does not store API keys centrally and has no access to your private key, which is stored locally on the ReliaHome device.
For a full description of the SolarEdge API, please visit:
Sol-Ark
| 1. In the ReliaHome app, navigate to the Controls > Off-Grid Manager > Add a battery to your system. | 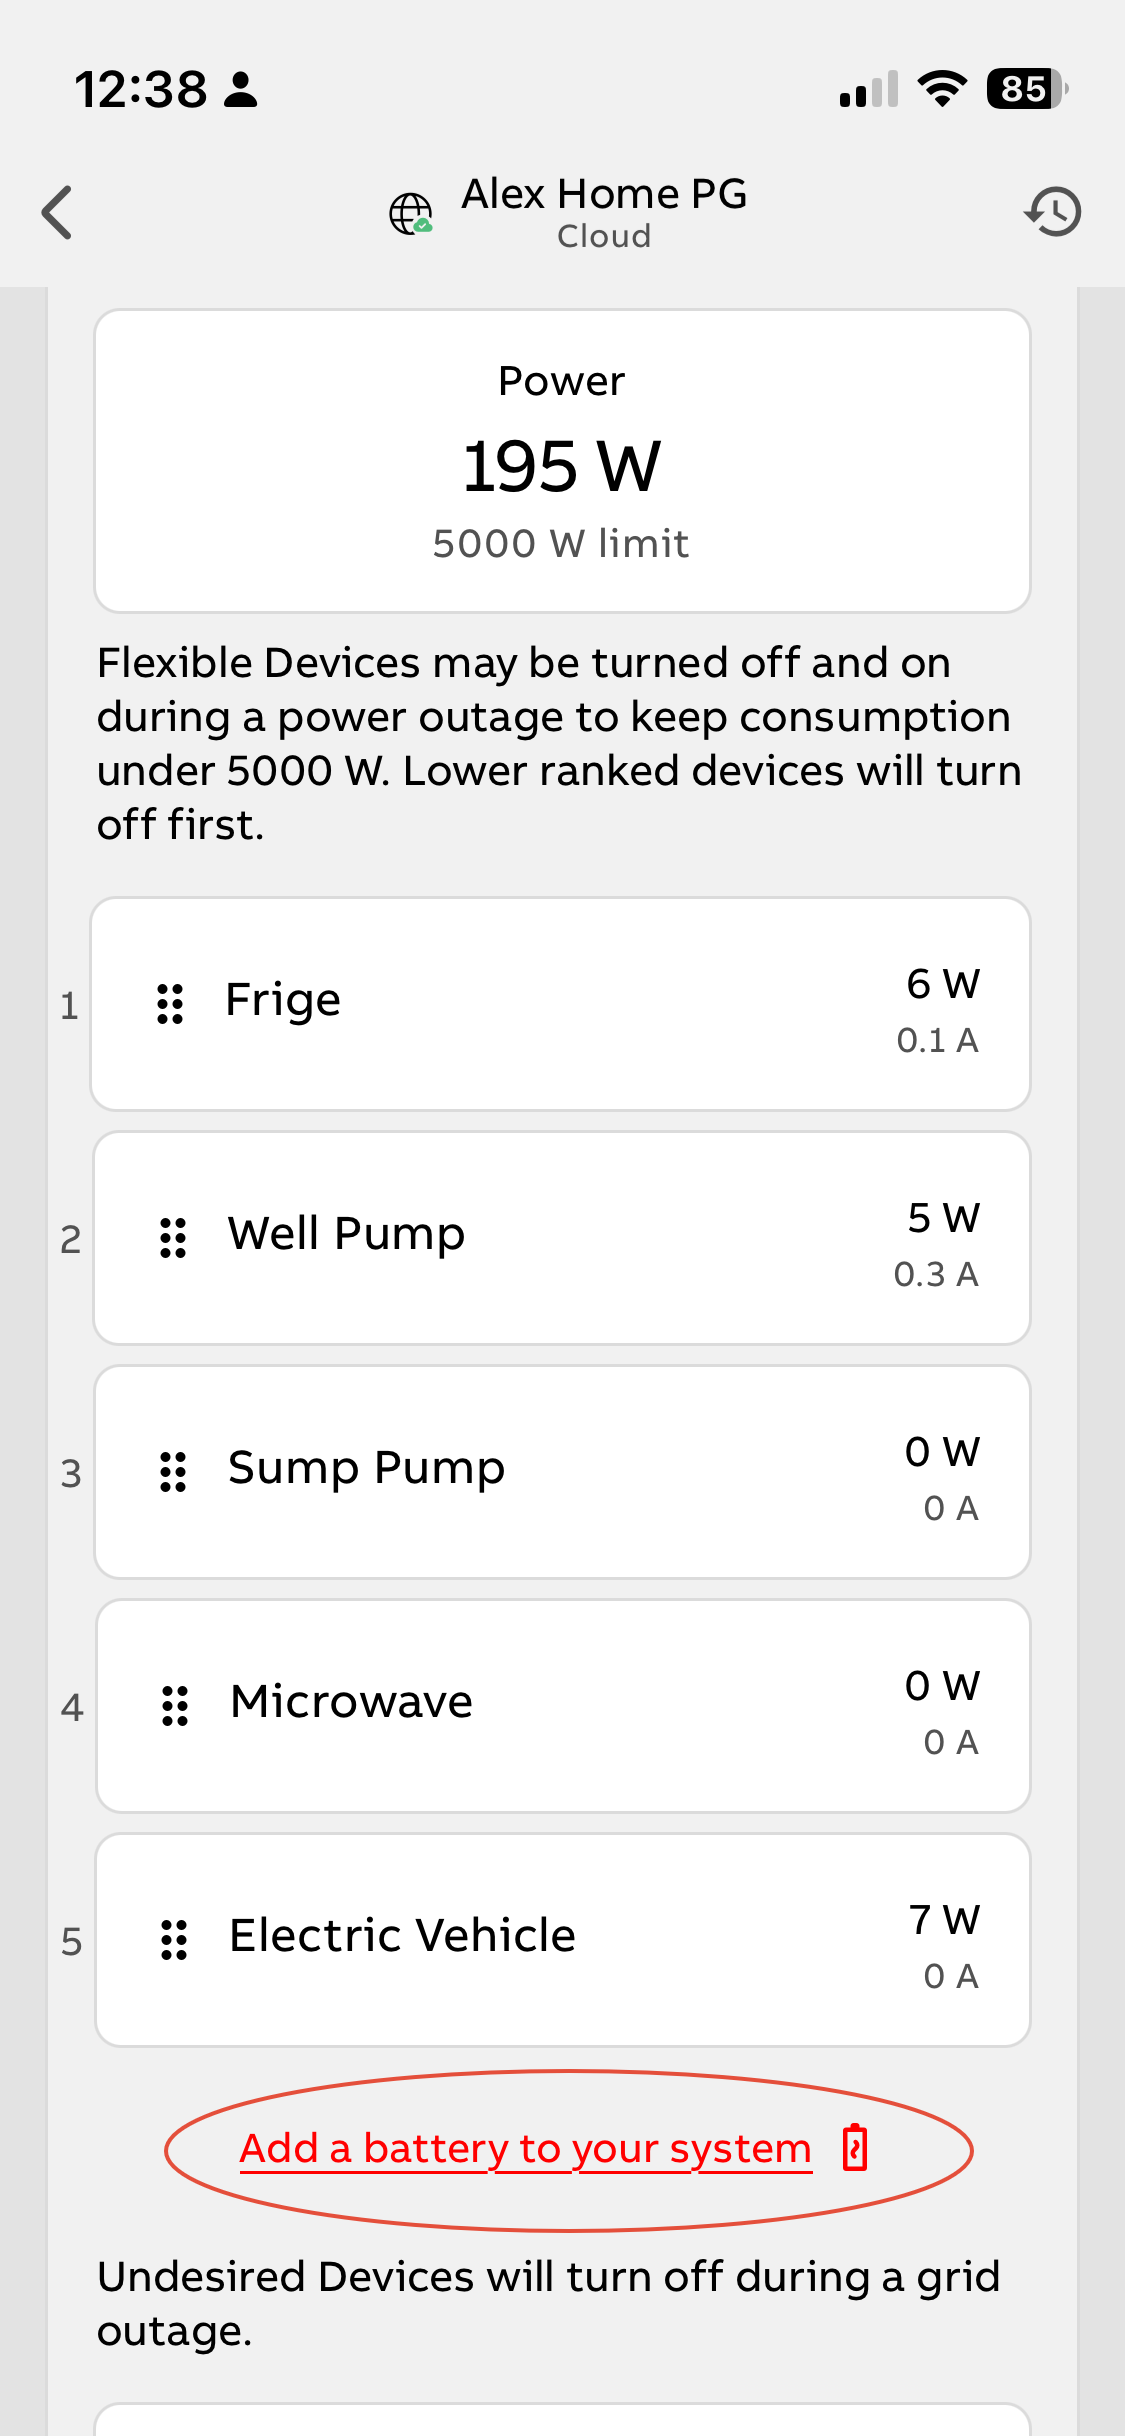 |
| 2. Choose Sol-Ark |  |
| 3. Select the model of the lead Sol-Ark inverter |  |
| 4. Locate the Cat5 or Cat6 ethernet cable to be used for the connection. Ensure the cable will reach between the Smart Panel RS-485 port and the Sol-Ark Inverter CanBus port. |  |
| 5. Connect one end of the ethernet cable to the CanBus/Battery CanBus port in the Sol-Ark inverter. If this port is being used to connect to a battery, a splitter cable must be used. If utilizing a splitter cable, connect the CAN line to the battery and the RS485 line to the Smart Panel. Splitter cables are available on Amazon or other retailers. Note: The Modbus RS-485 port in the Sol-Ark inverter does not provide the correct data for this integration. |   |
| 6. Press "Test Connection". |  |
| 7. There are three available devices an installer may configure to leverage information from the Sol-Ark inverter. Sol-Ark Grid Status Use this instead of the smart panel's Grid Detection Circuit to signal grid outages to the smart panel. Sol-Ark Whole Home Consumption Use this instead of smart panel CTs to monitor overall consumption (can be useful if CTs are hard to fit). Sol-Ark Battery This integration makes battery state of charge visible in the ReliaHome app and enables state-of-charge-based load shedding. Tap to configure each option you desire. At a minimum, all good Off-Grid Manager installations will utilize the Sol-Ark Battery integration. |  |
| 8. Tapping Sol-Ark Grid Status in the previous step will add the grid status signal from Sol-Ark to the smart panel system as a device. If the smart panel's Grid Detection Circuit (GDC) was connected during installation, you may be prompted to select which grid status signal the smart panel should use as the source of truth. Select Prioritize Devices to properly configure this control. |  |
| 9. In the Off-Grid Manager home screen, drag devices up and down the list by pressing and holding the six-dot "domino" icon to the left of each device name. Flexible Devices are those which will be allowed to operate during a grid outage as long as the battery state of charge exceeds the threshold set for the Flexible Device. Undesired Devices will be immediately disabled when a grid outage is detected. Devices can be dragged between the Flexible and Undesired categories. After sorting devices, tap Edit Battery State of Charge thresholds. |  |
| 10. Adjust the the battery state of charge at which each Flexible Device will be disabled during a grid outage. All Flexible Devices are set at 50% by default but can be adjusted by moving the sliding red scale. | 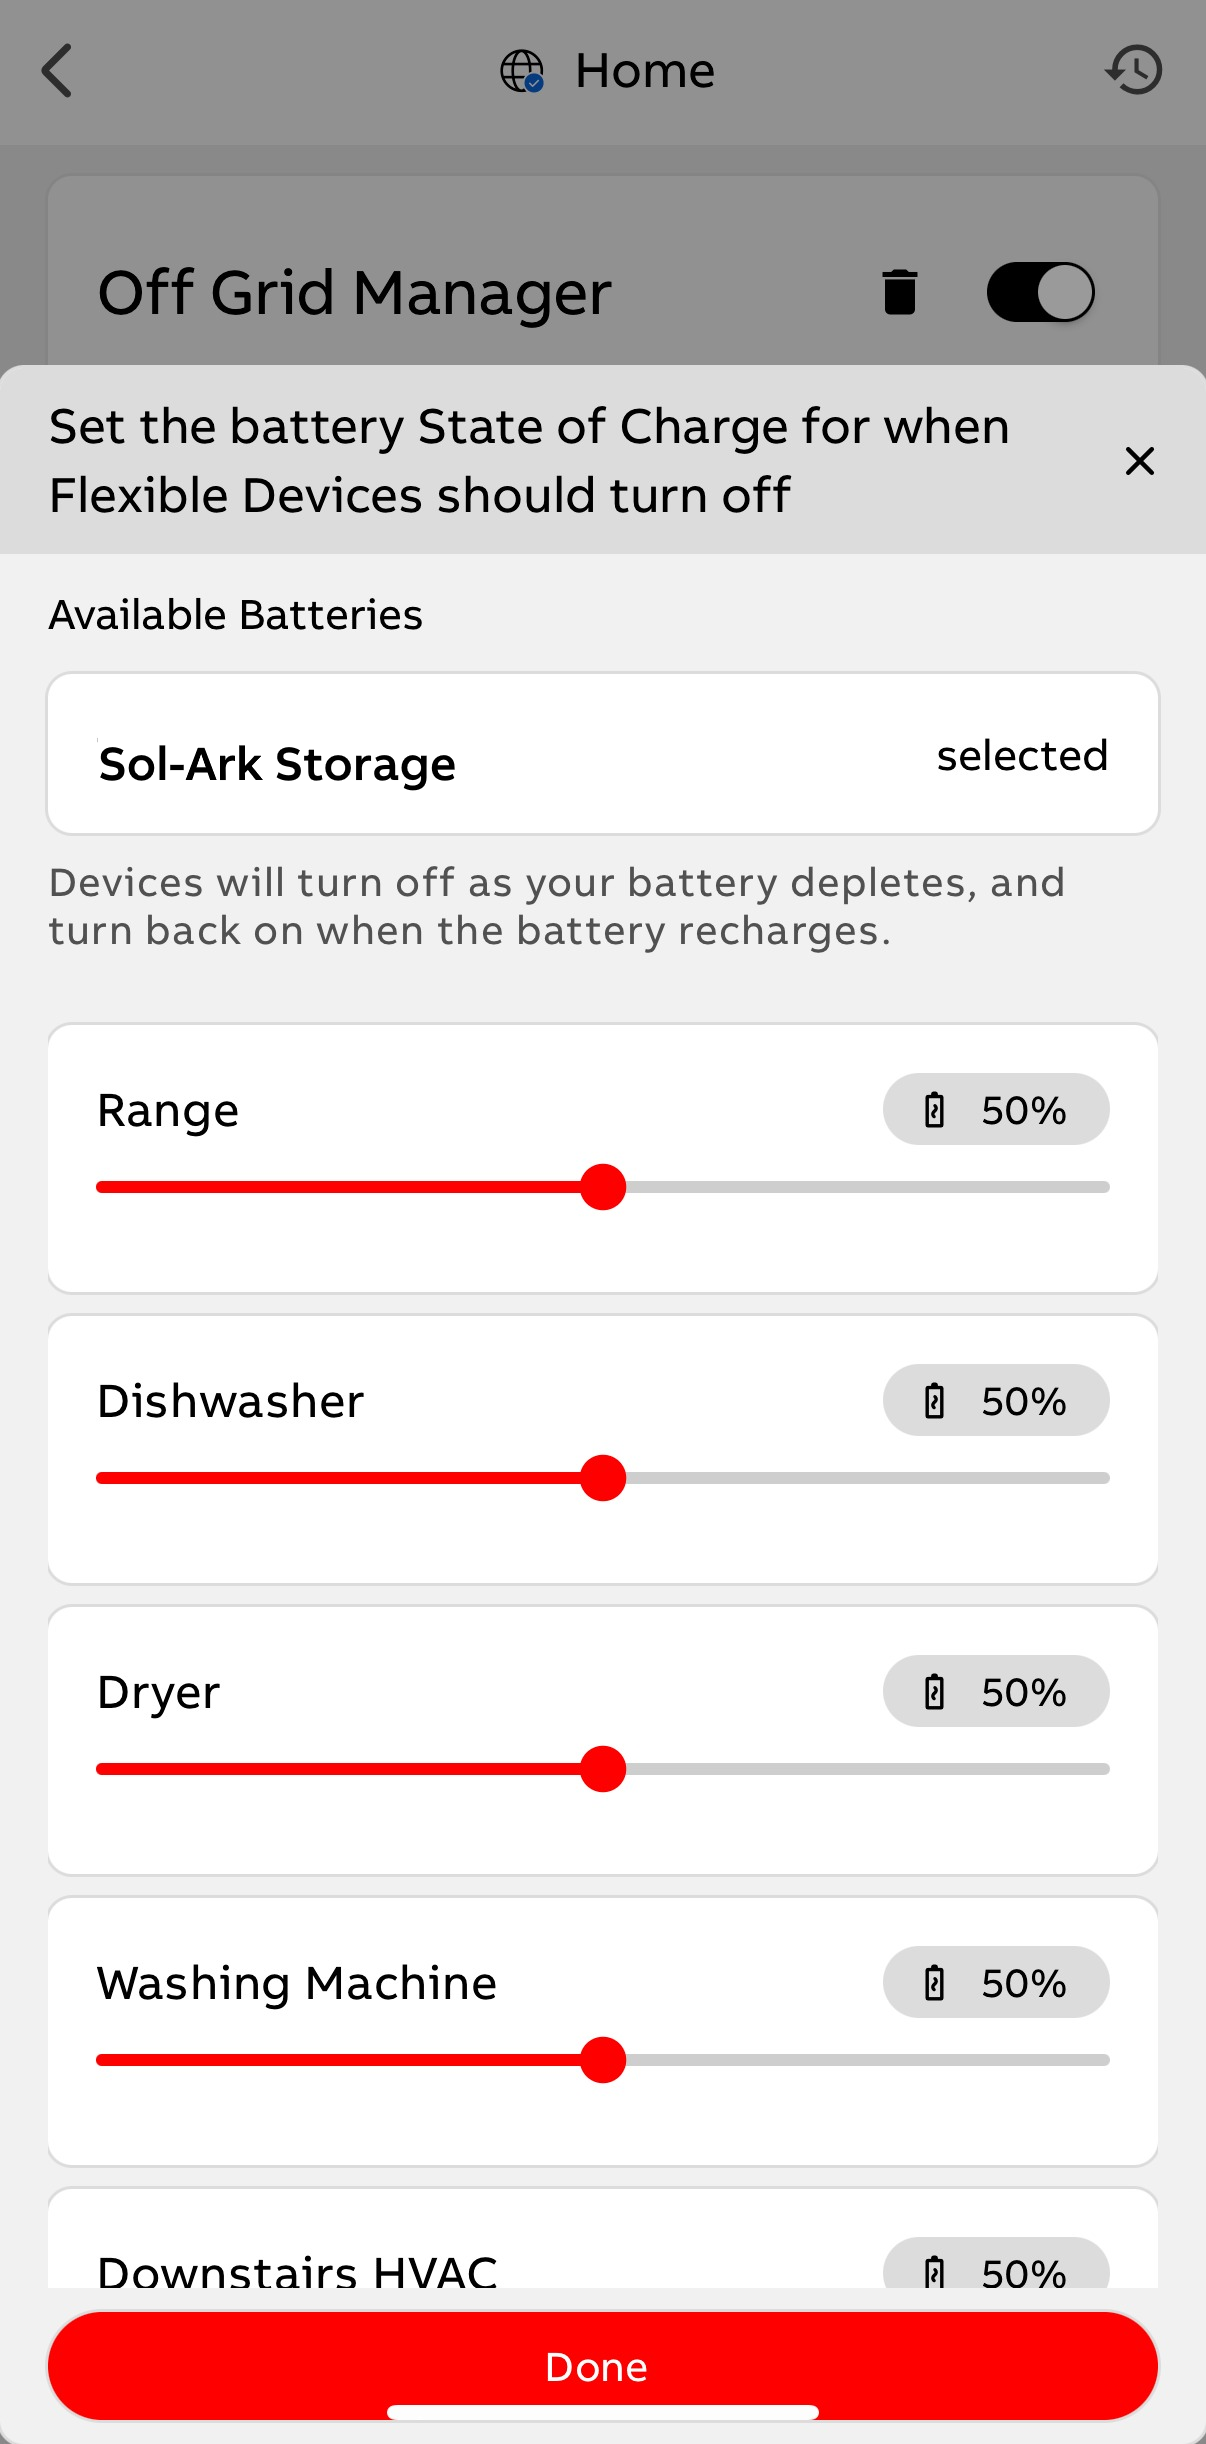 |
| 11. The "Sol-Ark Whole Home Consumption" signal can be used in lieu of a Main CT for the Smart Panel system. This data from Sol-Ark is the "Load Side Total Power" reading, which is the total amount of power from all sources being delivered to the home. If the Smart Panel's CTs were connected during installation, you may be prompted to select which whole-home readings signal the Smart Panel should use as the source of truth. Note: For Panel Guard (service upsize avoidance) installations, the ReliaHome main CTs must be used; the grid status indication from Sol-Ark is not suitable for Panel Guard installations. | 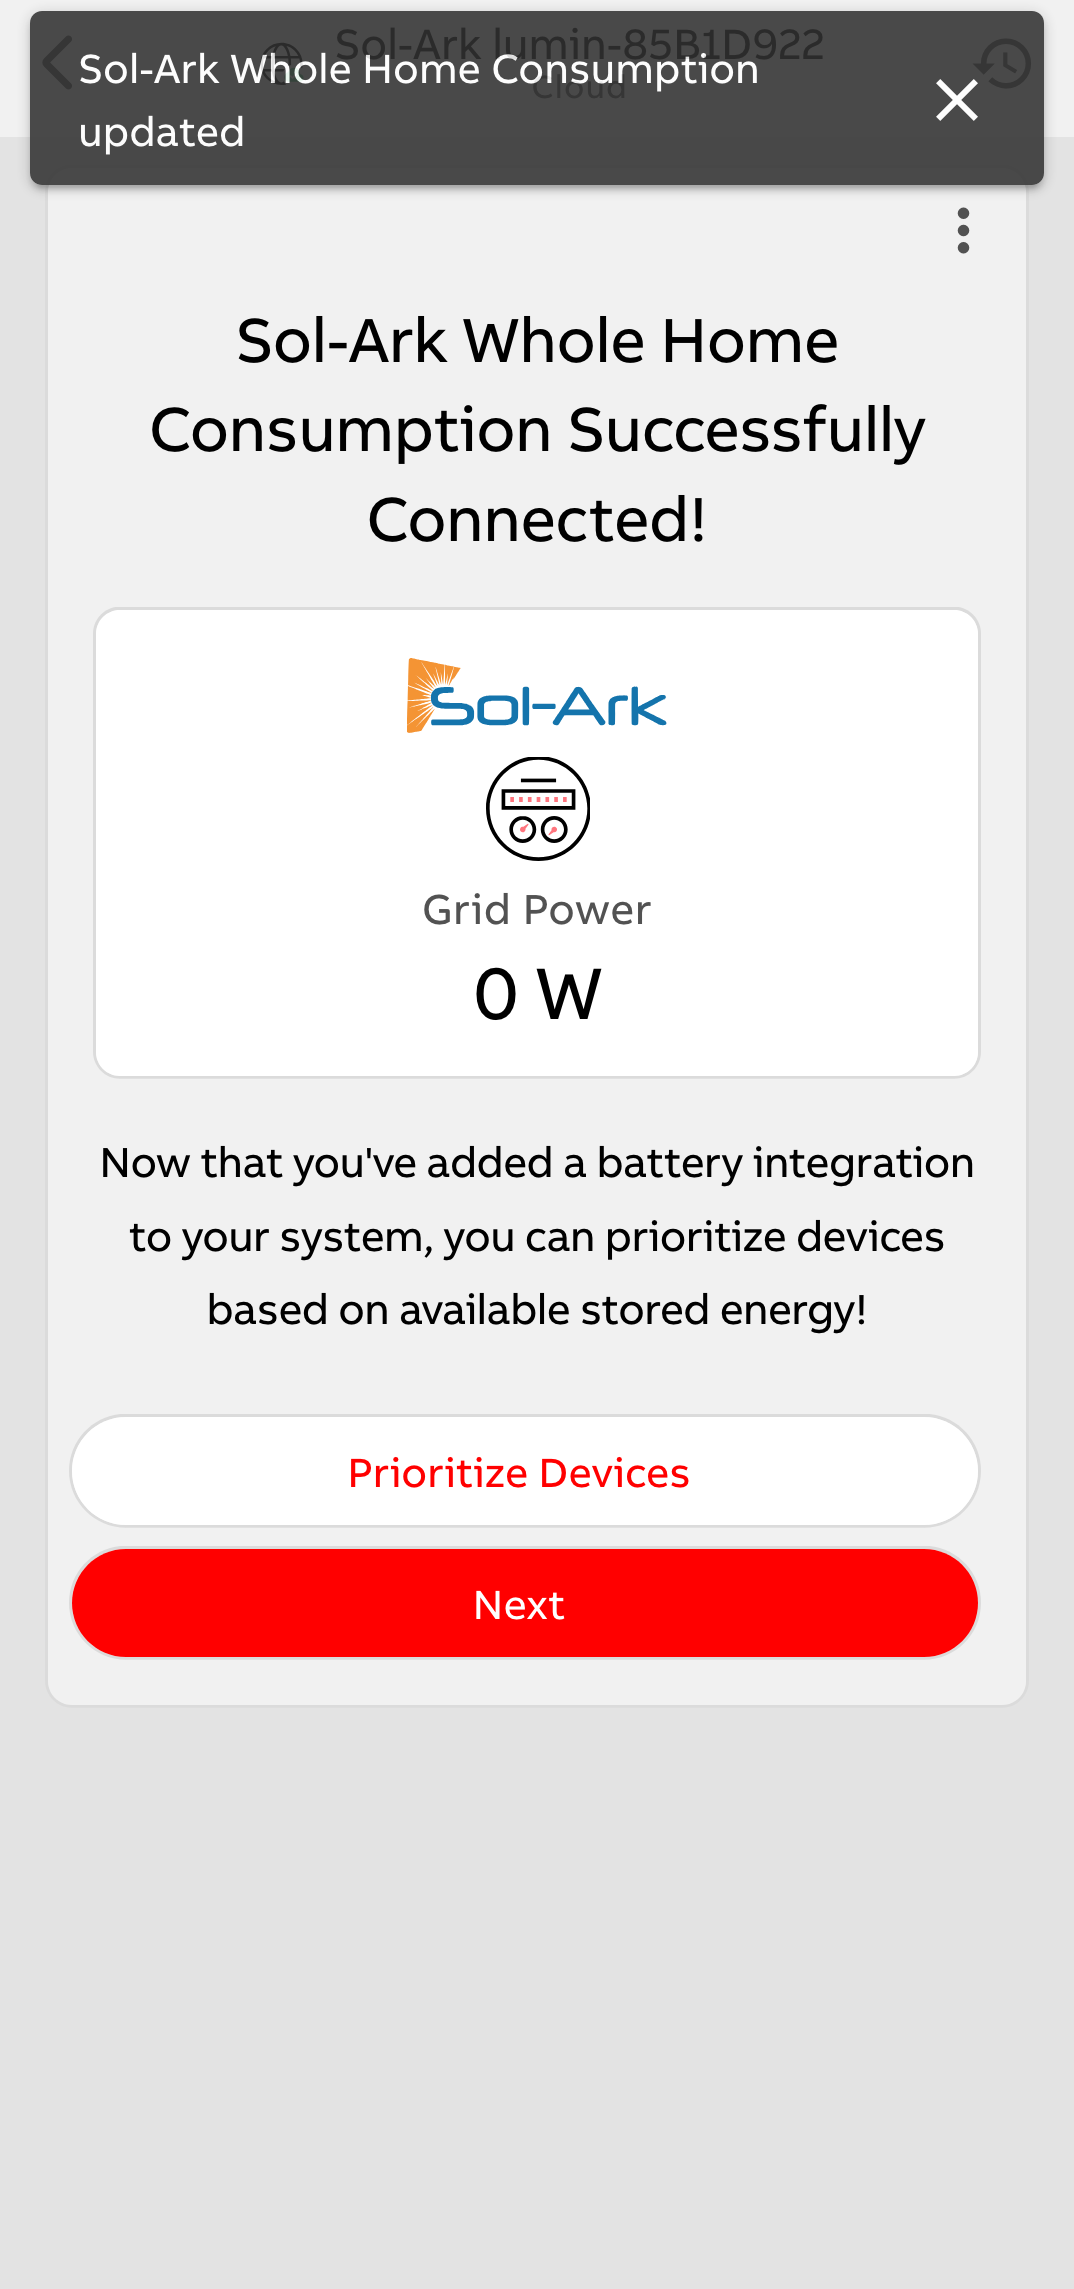 |
| 12. The Battery State-of-Charge signal from Sol-Ark will be added to the Smart Panel system as a device. This can be used to configure more granular load-shedding in Off-Grid Manager to extend the battery's runway. |  |
| 13. Once all desired devices are connected, click "Done". |  |
Tesla Powerwall
Smart panel users wishing to add Powerwall integration must obtain the Tesla Site ID following the process outlined below. Note that this process can only be performed on the mobile app. Do not attempt this using a browser via the reliahome.abb.com webpage interface.
In the ReliaHome Smart Panel app:
1. Navigate to the Battery Integration page via either option:
| |
| 2. Choose Tesla Cloud. |  |
| 3. Choose Okay when prompted with a redirect notice to Tesla Powerwall. Ensure the email address you use to log in to Tesla is the primary email address associated with your Powerwall. If the battery is not displayed on your Tesla app home screen, you are not logged into the primary account. See Tesla Powerwall State of Charge Integration Troubleshooting for more information. |  |
| 4. Enter the primary email associated with your Tesla Powerwall account. This is normally the homeowner account. Select Next. |  |
| 5. Enter the password for your Tesla Powerwall account and select Sign In. |  |
| 7. After the Tesla sign-in process is complete, the app should redirect you to a Connection Status page. Select "Test Connection". |  |
| 8. Wait while the connection is tested. |  |
| 9. Select Prioritize Devices once connected. | |
| The Off-Grid Manager screen will display the Powerwall's state of charge. If desired, you can categorize your circuits and set the percentage you want your Flexible Devices to shed at when grid power is unavailable. For more information, see: |  |

Tesla Powerwall State of Charge Integration Troubleshooting
The Site ID will not populate in Step 10 if a non-primary Tesla account was used to fetch the Site ID. If you encounter this issue:
- Determine the primary email associated with a Tesla account.
- Remove access from a non-primary email Tesla account.
Determine the Primary Email for a Tesla Account
To check which account is the primary email in Tesla:
| 1. Login to the Tesla app. | 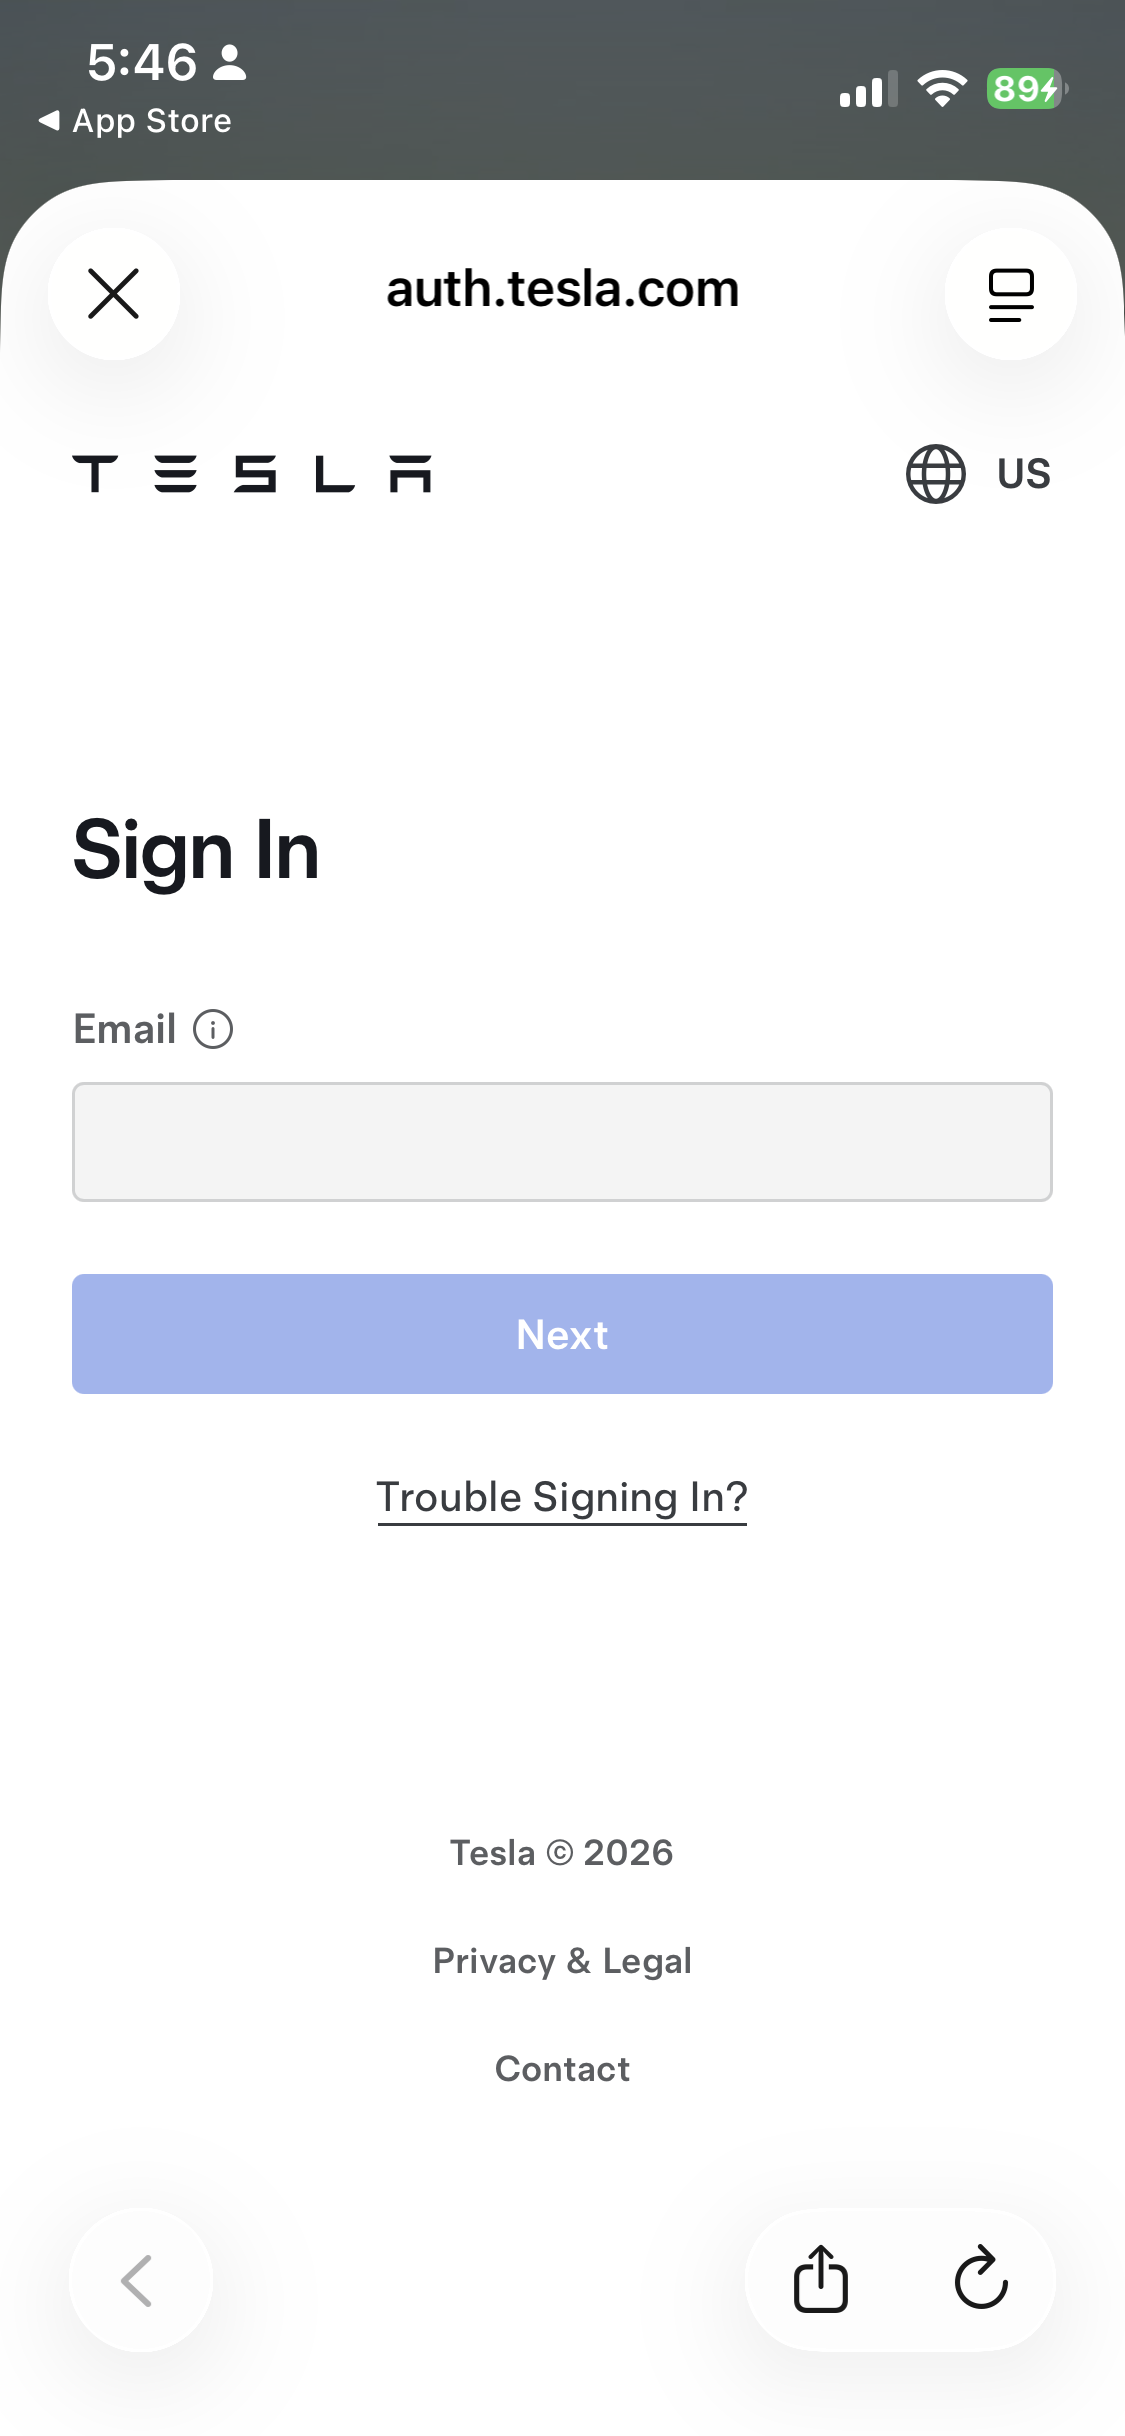 |
2. Check if the Powerwall battery is displayed on the Tesla app's home screen.
|  |
| 3. Select the name and email listed on the Tesla app's Menu screen. |  |
| 4. Choose Personal Information. |  |
| 5. Confirm the email address listed under Primary Email. |  |
Follow the Powerwall integration instructions and use the primary email for Step 5 after you've redirected from the ReliaHome app to Tesla.
Remove Access from a Non-Primary Email Tesla Account
To remove access:
- Look for an email sent from Tesla confirming the addition of ReliaHome to the account and click the remove access link.
- Sign in to the Tesla page using the same incorrect (non-primary) login credentials.
- Uncheck the box granting permission and click Remove Access.
- Select Yes on the second page that appears and asks if you are sure to unlink the accounts.
Follow the Powerwall integration instructions again and ensure that you use the correct Tesla account with the primary email address.
Was this article helpful?
That’s Great!
Thank you for your feedback
Sorry! We couldn't be helpful
Thank you for your feedback
Feedback sent
We appreciate your effort and will try to fix the article